
{DIY Rope Braids with Yarn}

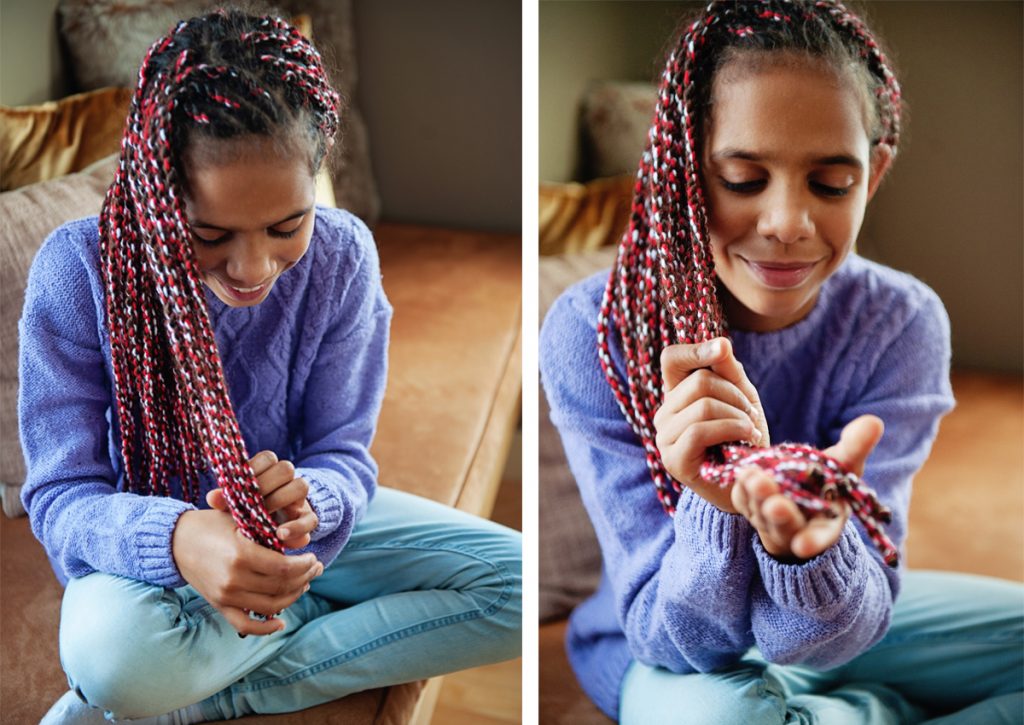
One of the ways we like to do Faith’s hair is with yarn extensions. Weaving in strands of acrylic yarn adds some length and colour for something different a couple times a year.
This past weekend she asked me for ‘candy cane’ hair for the holidays– so I spent an evening twisting in some bright red and white.
Want to do it too? See how below.
It’s fun to learn and can be done on any style of hair.
How long does it take?
We typically spend an entire afternoon or evening to accomplish it– approximately 5 hours. (Roughly the span of two back-t0-back movies, plus an episode of something).
We call it our girl time and enjoy hanging out in front of the TV with chick flicks and girl shows playing the whole time. Sometimes we’ll allow the boys meander in and join us 😉

What kind of yarn do you use?
Just a basic worsted weight, acrylic yarn I pick up at Walmart or Michaels. Do not use wool yarn (as it will felt into the hair and be very challenging to get out later), or cotton yarn (as it will absorb water, taking longer to dry after washing).
I use 3 strands of yarn per braid (you can certainly use more strands if you want, for thicker braids). We keep a big ball of the chocolate brown yarn on-hand always as our base colour (close to her natural colour) using at least one strand of it in every braid for some cohesiveness. The other colours in our stash will vary.

How long do they last?
These braids last a solid 6 weeks. After that point the roots begin to get loose and fuzzy, so it’s time to take them out.
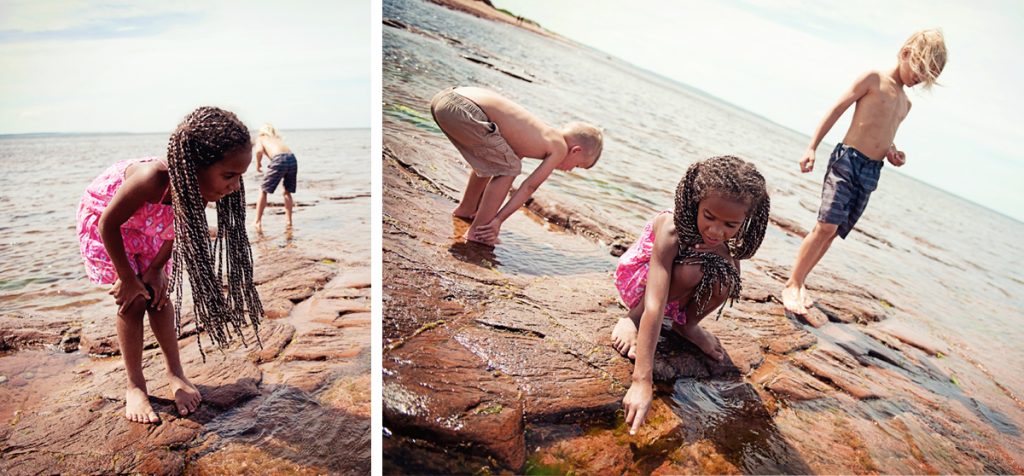
We often do these braids prior to vacations for super cute, low-maintenance camping hair!

How to wash + care for them?
When washing with braids, just focus on gently cleansing the scalp (not the braids). Once wet, do a light massage at the roots with a bit of shampoo– do not scrub too vigorously as it will loosen the braids and create fuzzing. (Do not use conditioner.)
Once washed and rinsed, wring the hair out by squeezing and twisting to get as much moisture out as possible. Gently pat dry with towel. (Do not rub dry as it will create loosening and fuzzing.)

Once braids are done, we trim the ends to an even length.
Then seal the knotted ends by melting them with a flame.
How to do it?
We like to follow this tutorial on YouTube that walks you through the steps:
Click HERE for instructions.
*Most tutorials you find for rope twists use hair extensions where we are using yarn instead, but the concept is still the same.
NOTE: When cutting your yarn, cut the strands DOUBLE the length you want them to measure (plus a good 6 inches extra as a buffer) as you will be folding strands in half when braiding (as you can see in the video tutorial). Excess lengths can be trimmed and the ends evened up, once you have completed all of your braids.
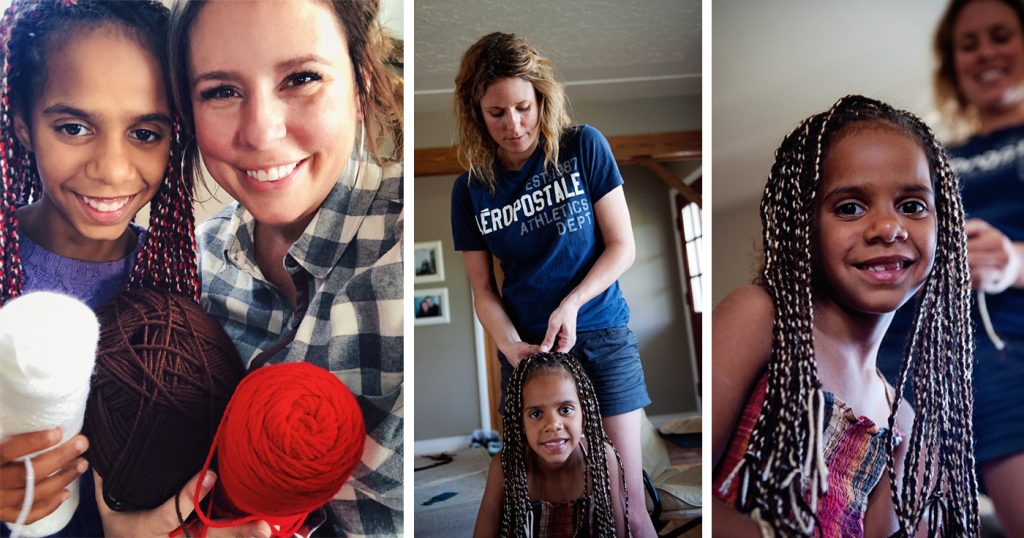 Faith and I now (2020); Faith and I five years ago (2015).
Faith and I have had fun doing these braids for years now– we hope you have fun with it too!
I think we like the time spent as much for the ‘girl time’ connection as for the end result. The whole process is whatever you decide to make of it– so make it something sweet and fun!
All the best,


Leave A Comment